I decided on a theme of Robots for the project and thought that the bits that need to be extracted could be circuit component symbols, which would also be an aid to helping the children to remember the symbols.
Here is the process of designing the robot:
.jpg)
- Find a suitable image and paste onto the screen.
.jpg)
- Highlight the image (click and drag mouse).
.jpg)
- Click:
.jpg)
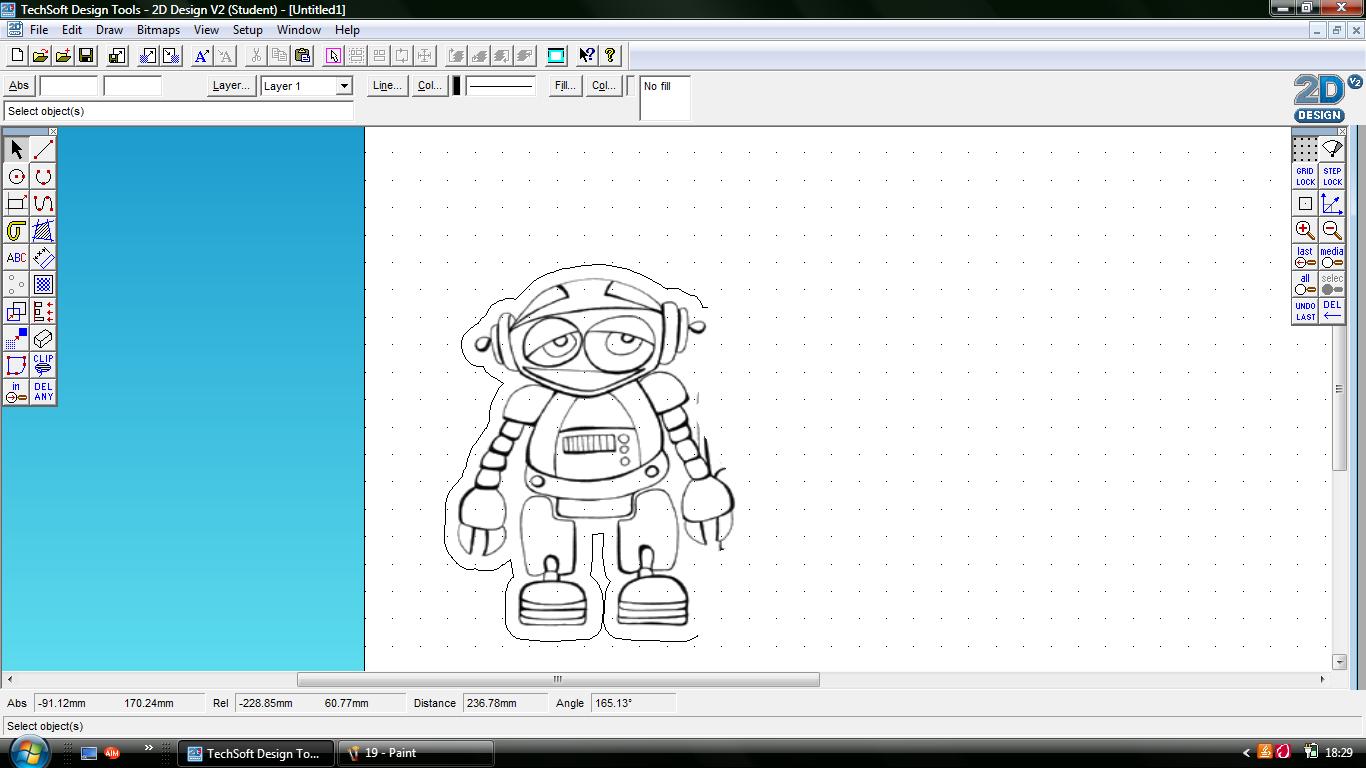
- Picture should now be transparent, showing the grid dots through the picture.
.jpg)
- To make border round image: highlight image.
.jpg)
- Click:

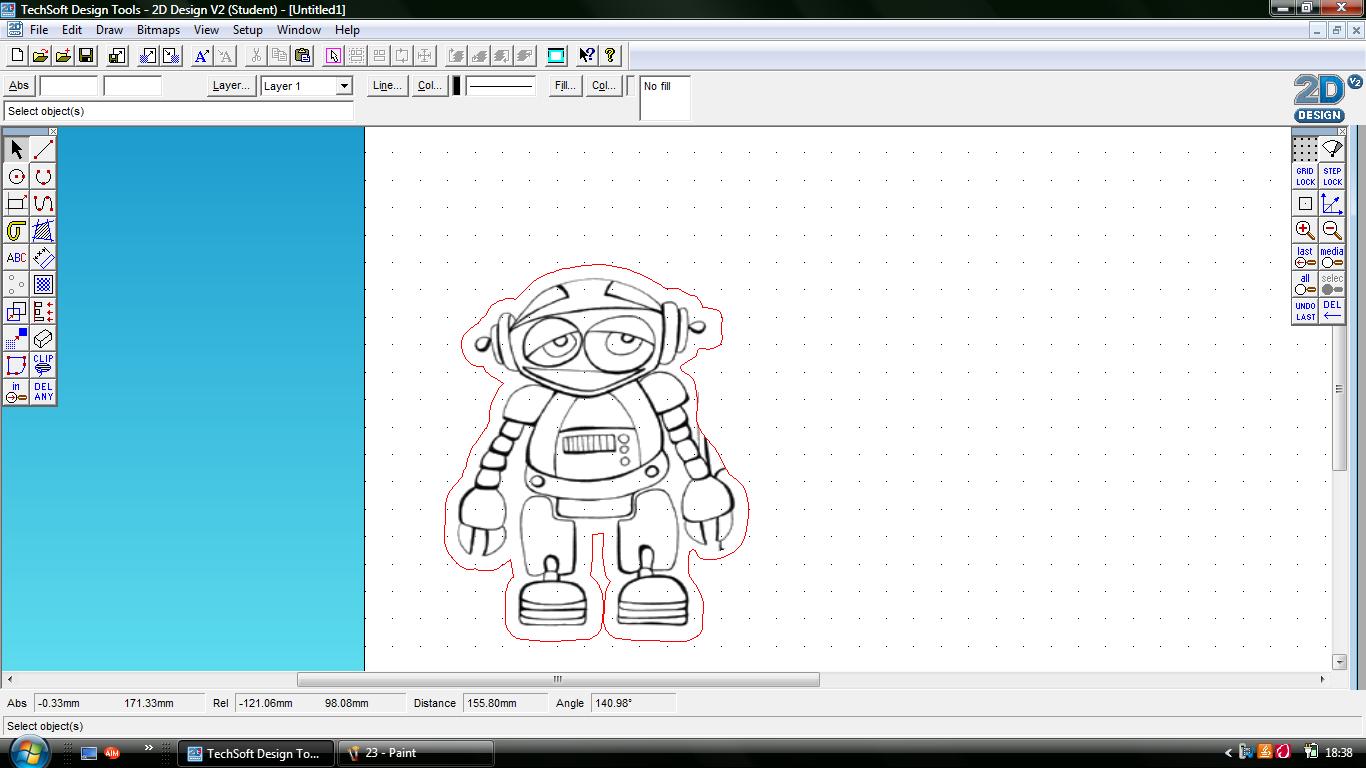
- Adjust contour spacing (5.00mm here),

- Picture should now have a border all the way round.

- To remove unwanted border lines inside main picture: highlight picture.

- Click:

- Dialogue box:

- Highlight all unwanted areas within image.

- Click:

- To crop part of the picture: Zoom in on picture
drag box over area


- screen zooms into highlighted part.

- Select:

- Draw lasso around area to be kept.

- Dialogue box:
- Picture crops to line.

- Draw in missing border line with path tool.


- Laser Cutter: engraves black lines; cuts through red lines. To prepare image for laser cutter: Highlight border.

- Click: at top of screen.

- Select colour: red.
- Image is now ready for Laser Cutting.

No comments:
Post a Comment